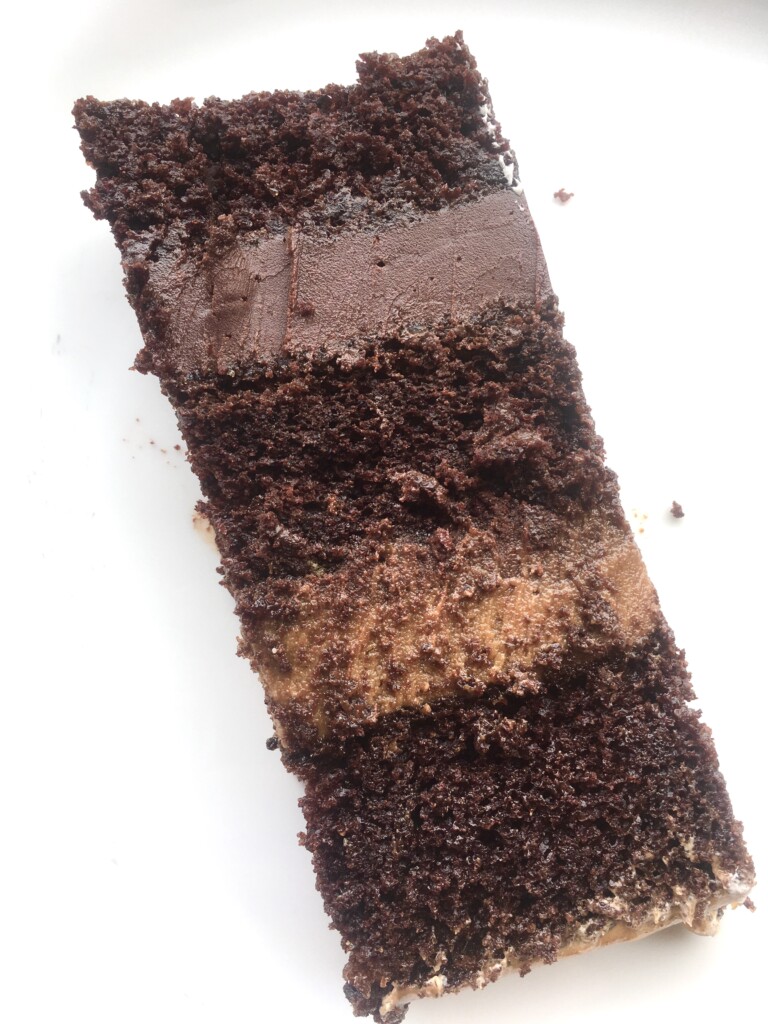
Before I started Loom Craft Chocolate, I was a baker. In fact, baking was the genesis of my chocolate-making journey. I love, love, love chocolate cakes specifically the moist, dense, and fudgy kind and I tested a zillion recipes before finding this one. I’ve made this cake so many times that I could never forget the recipe. When I visit family and friends, I whip this up quickly to give them a treat and it’s cool that you’ll find all you need in an average Nigerian home. No fancy, expensive ingredients required and certainly no fancy gadgets. And the best part, you’ll be saving a ton of money by making your own at home because cakes are the new gold in this economy. Alright, let’s go!

Ingredients You’ll Need:
For the Cake:
2 cups (250g) all-purpose flour
2 cups (300g) granulated sugar
¾ cup (65g) unsweetened cocoa powder (If you’re using Loom Craft Cocoa Powder, make it ½ cup of cocoa powder)
1 and ½ teaspoons baking powder
1 and ½ teaspoons baking soda
½ teaspoon salt
2 eggs
1 cup (240ml) milk or buttermilk
½ cup (120ml) vegetable oil
2 teaspoons pure vanilla extract or essence
1 cup (240ml) boiling water
For the Chocolate Frosting (totally optional):
125g unsalted butter or margarine, softened
25g unsweetened cocoa powder (Skip this if you want a plain vanilla frosting)
125g powdered sugar
1 teaspoon pure vanilla extract or essence
1 pinch of salt (skip the salt if you’re using salted butter)
Instructions:
For the Cake:
Step 1: Preheat the Oven
Preheat your oven to 175°C. Grease and flour one 10-inch round cake pan.
Step 2: Mix Dry Ingredients
In a large mixing bowl, combine the flour, sugar, cocoa powder, baking powder, baking soda, and salt.
Step 3: Add Wet Ingredients
Add the eggs, milk (or buttermilk), vegetable oil, and vanilla extract or essence to the dry ingredients. Mix well until the batter is smooth and well combined.
Step 4: Boiling Water
Pour in the boiling water and stir until the batter is thin. Don’t worry; it’s supposed to be thin at this stage.
Step 5: Bake
Pour the batter evenly into the prepared cake pans. Bake in the preheated oven for 45 minutes or until a toothpick inserted into the center comes out clean.
Step 6: Cool
Allow the cakes to cool in the pans for about 10 minutes, then remove them from the pans and place them on a wire rack to cool completely.
For the Chocolate Frosting:
Step 7: Beat the Butter
In a separate bowl, beat the softened butter until creamy and smooth.
Step 8: Add Cocoa and Sugar
Gradually add the cocoa powder (if using), powdered sugar and salt, mixing well after each addition.
Pour in the vanilla extract, then beat until the frosting is light and fluffy.
Step 9: Frost the Cake
Once the cake is completely cooled, spread the frosting on the entire cake. You can get creative with your frosting techniques. I usually just make simple swirls with the back of a spoon and my family is happy with it.
Tips I Use For My Chocolate Cake
- This chocolate cake tastes better as it ages. You can freeze some for 2 weeks and believe me when I say, it’s crazy delicious!
- I start checking on my cake after 30 minutes because ovens can be temperamental but don’t open the doors. Instead, peep through the oven glass. You can tell, by just looking at it, if the center of the cake is still wobbly.
- When I don’t have either baking powder or baking soda, I substitute them for one another (I hear cake snobs and purists groaning! Haha!). This will affect the texture but it will still taste fantastic and much better than what you buy from commercial bakers.
Enjoy Your Homemade Chocolate Cake
There you have it—your homemade chocolate cake masterpiece! This decadent dessert is perfect for birthdays, celebrations, or simply satisfying your chocolate cravings. Slice it up, serve it with a scoop of vanilla ice cream, or enjoy it with a cup of your favorite tea or coffee. I do the latter!
Happy baking, and savor every chocolatey bite!

